


In this tutorial we will install Active Directory server role and configure a domain for the lab and promote our server as a domain controller.
Steps to do before:
- Login to our Server 2012 as Administrator and change the computer name.
- I opt to user DC-1 as this will be easy for us to remember and use.
- To do this, open "Windows Explorer" from the taskbar.
- Right click on "Computer" and choose "Properities".
- Select "Advanced systems settings" from the left hand side menu.
- Go to the "Computer Name" tab, and click "Change".
- Enter our computer name: DC-1 and click "OK".
- A small pop up will notify you to restart our VM to apply settings.
- Click "OK" and select "Restart Now" to restart the server and to apply settings.
Follow through the images below:


We have now changed the server hostname to DC-1 and we will further install Active Directory server role for our lab domain.
For that follow through the pictures below.
Login to the server and open Server Manager.


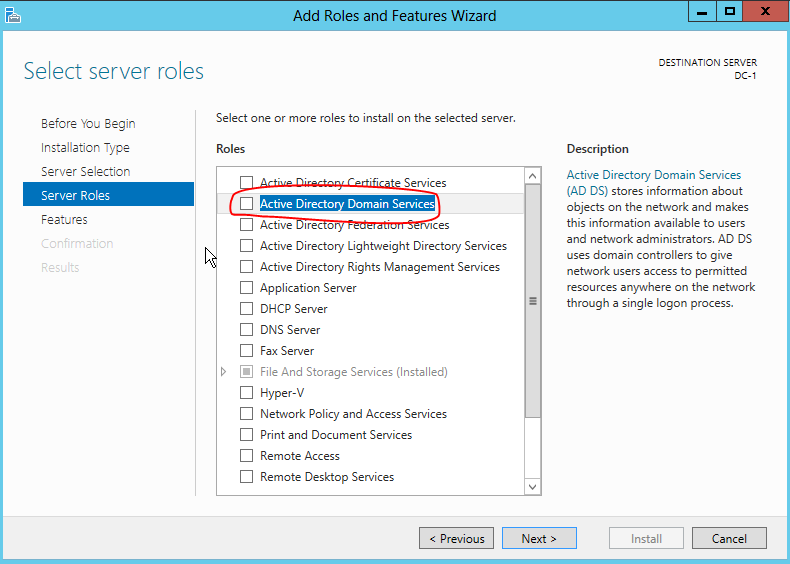


After the installation from your Server Manager windows, you can see a flag with yellow exclamation mark. That is your notification area. Click that and select "Promote this server to a domain controller", as we are making our Server 2012 as Active Directory Domain Controller.


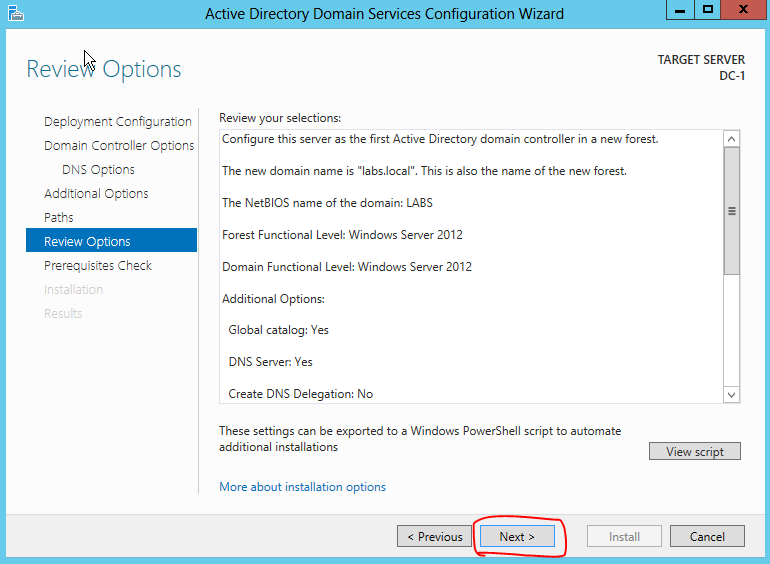
We will create a new forest with the name "LABS.LOCAL". It is up to your choice and you can choose any name for your Active Directory forest.
We will discuss about forests and other terms in later tutorials.
Follow through the images below for further steps in our lab.


Here you notice that C:\Windows\NTDS folder as your designation for Database and Log files. Active Directory is ultimately a database that saves organizations logins, groups, resources, etc., and a lot more. And that database is stored in your server's C:\Windows\NTDS folder.
I will cover how to backup, retrieve, and move AD database in later tutorials.


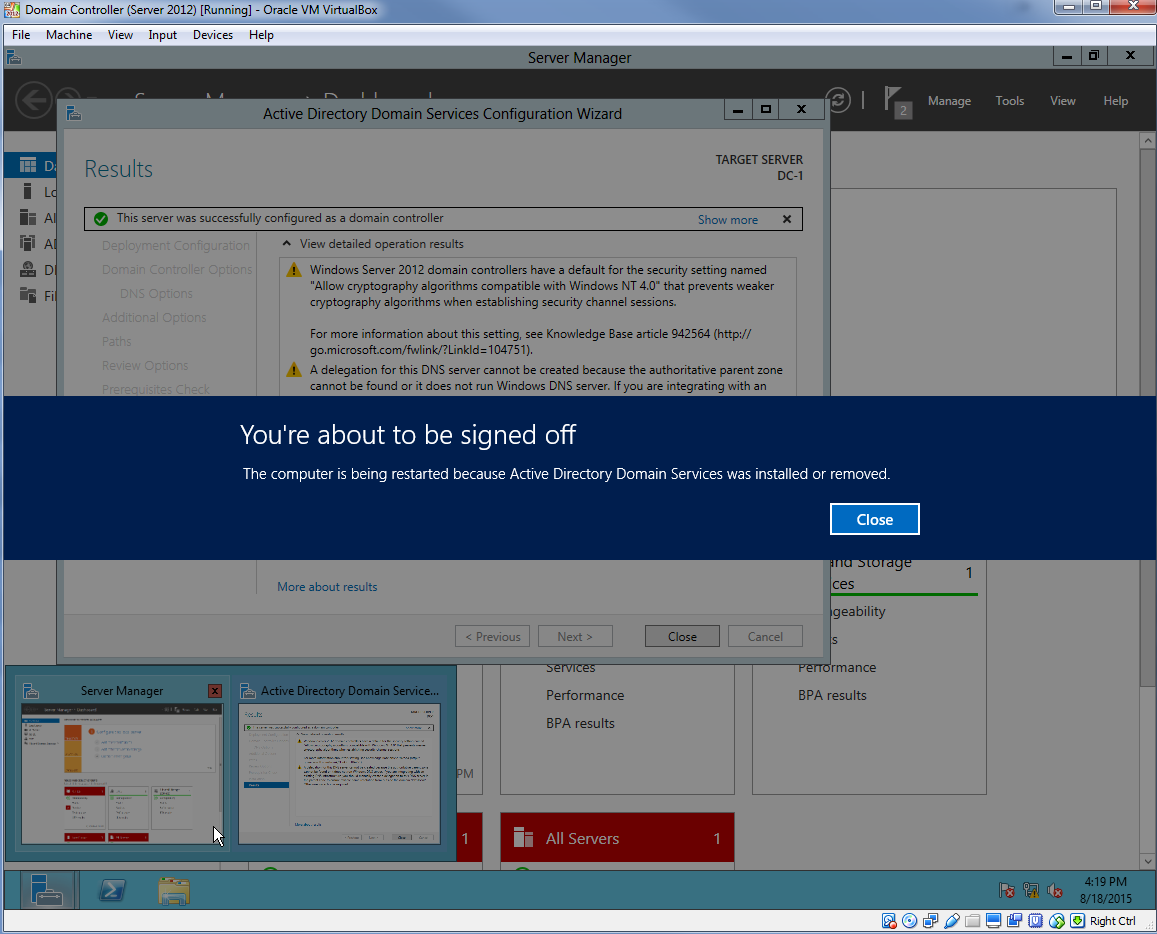
Once the installation is completed, you will see the following screen and you will be eventually logged out of the server.
As you can see, you are now logging into Active Directory domain. In this case we have our AD name as LABS.


If you find these tutorials helpful please share and subscribe to my blog.
Please leave your comments and/or suggestions if you have any.
0 comments:
Post a Comment