


Server Manager will start automatically. If it does not automatically start, click Start, type servermanager.exe, and then click Server Manager. OR you can open server manager from home screen.
Click Manage.
Click Add roles and features, click Next.
On the Before you begin page of the Add Roles and Features Wizard, click Next.
On the Select installation type page, click Role-based or feature-based installation, and then click Next.
On the Select destination server page, select the appropriate server, and then click Next. The local server is selected by default.
On the Select server roles page, scroll down and then select the DHCP check box. Click Next.
Remote Server Administration Tools are required to manage this feature. Select Include management tools (if applicable). Click Add Features. Click Next.
On the Select features page, click Next.
Click Next again.
On the Confirm installation selections page, click Install.
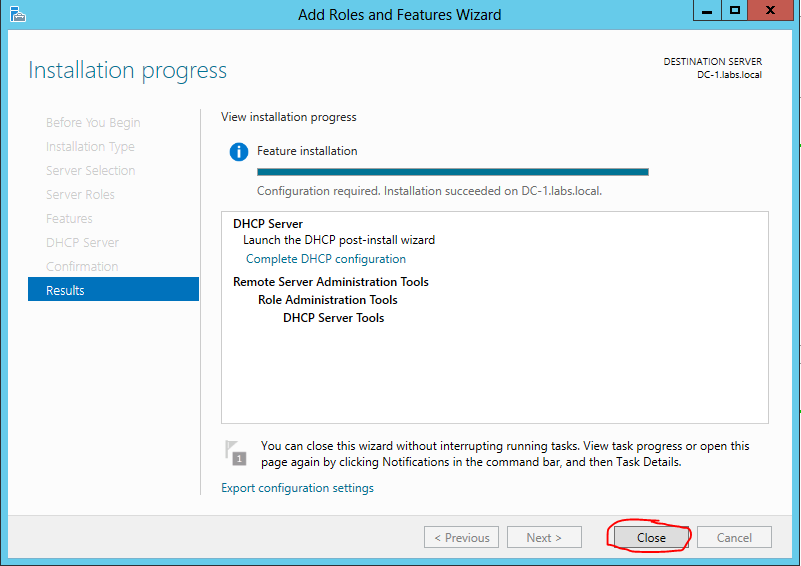
DHCP will now be added to the server. Installation progress will now be illustrated in the Add Roles and Features Wizard.
On the Select features page, click Next.
Click Next again.
On the Confirm installation selections page, click Install.
DHCP will now be added to the server. Installation progress will now be illustrated in the Add Roles and Features Wizard.


0 comments:
Post a Comment