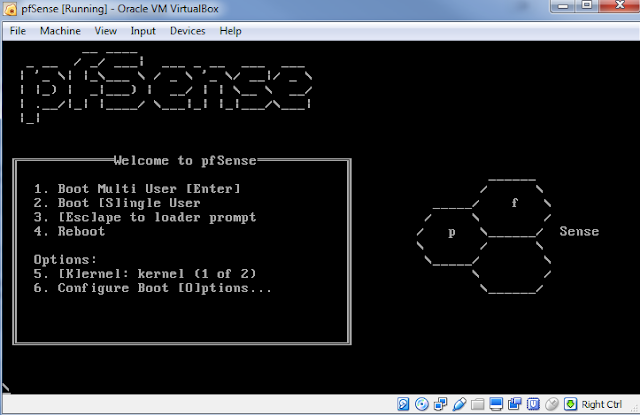
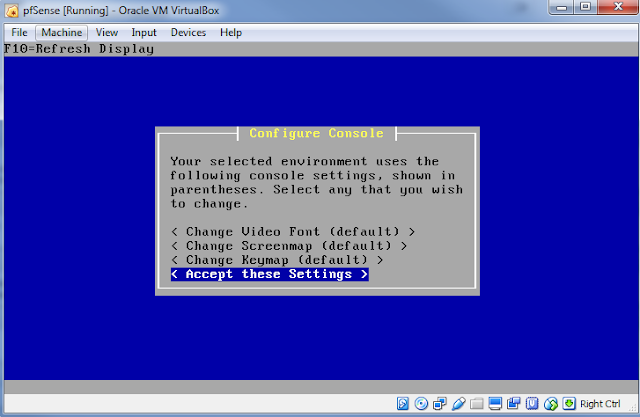
Click pfSense VM, "Start", and follow through steps from the images below.
After sometime you will notice that the VM is going to reboot, you can then remove the installation media (ISO file) from -> Devices -> Optical Devices -> Remove disk from virtual drive.
It is upto your choice to remove the installation ISO media now or we can remove that anytime after the installation is complete.
Now you will see a screen like this below, and make sure you have proper attention to choose the option "I" for you to install pfSense. Otherwise auto boot continues to happen. Timeout is usually 10 seconds.
Make sure you enter "I" and press enter.
The installation happens and reboots again after sometime. This time make sure you leave the screen and let the auto boot deal the things for now. i.e., even if you get the screen above for the second time, leave without pressing any key.
You will now get the following screen, and choose NO (n) as an option, as we do not configure VLANs in this lab.
After that you will see the following screen where you get many options to configure our pfSense router. Like configuring our network interfaces, assigning IP addresses, rebooting the system etc.
Choose option 2 for assigning IP address for our LAN interface which will be our "internal network (Windows Server 2012 Lab)".
Now you will see the following screen with your active network interfaces, one for WAN and one for LAN.
You don't need to change your WAN (this is your interface for connecting to the internet). You will also notice that the WAN IP is assigned from the DHCP of your main router which is your home router. Please refer my topology diagram from - Lab topology.
Select option 2 for configuring an IP address for LAN.
In this lab we will use the IP address scheme 10.1.1.0/24 range.
As pfSense is now the main router for our lab, we will input 10.1.1.1/24.
Choose 24 bits for the subnet mask. You can choose whatever IP scheme and subnet you want, if you seem to explore and exercise a little extra, you can work out the IP addresses and assignment.
It would be easy to have a /24 subnet.
After that you will see the screen with option to configure the upstream gateway. Press <ENTER>.
We will skip this.
Then you will be asked for entering new LAN IPv6 address, Press <ENTER>. We will skip this.
Then you will be asked for enabling DHCP server on LAN. Enter "n" for NO. As in our further tutorials for this lab, we will install DHCP server role in our Server 2012. So we will enter NO for LAN at this point.
After that, you will be asked to revert to HTTP as the webconfigurator protocol. Choose "y" for YES. We need this to access pfSense via web utility. Press <ENTER> after selecting yes.
pfSense configures the URL for our accessing. You will be shown with an URL link like this image below.
Now, you will see the following screen. At this point we are done installing and configuring pfSense.
You will notice that the URL is the actual LAN address of our pfSense router.
The URL http://10.1.1.1/ is useful for accessing pfSense from the Server 2012 in future tutorials.
Now let the pfSense VM keep running. And we will proceed in installing and configuring Windows Server 2012 in our next tutorial.
Please leave your valuable comments or suggestions if you have any.


0 comments:
Post a Comment